


Intoduction
Uploading images and files is a significant roadblock for new React developers. File uploading means a user from a client machine wants to upload files to the server. For example, users can upload images, videos, etc on Facebook, and Instagram. As it is an essential part of building a complete application we will be going through steps to understand the process of file upload in ReactJs using Axios.
Input File/Imgae
We have to first set add an input HTML element and give its type as "file". Then, two useState is required, one for the image preview (image) and one would be the ImageFile (imageFile).
function App() {
  // To set Image
  const [image, setImage] = useState();

  // To set IMageFile required by the backend.
  const [imageFile, setImageFile] = useState();

  return (
    <div className="App">
      <input type="file"  />
    </div>
  );
}
Input field on File Upload
We will add an onChange on the Input HTML element and console what response we get on file upload.
function App() {
  // To set Image
  const [image, setImage] = useState();

  // To set IMageFile required by the backend.
  const [imageFile, setImageFile] = useState();

  function handleImageSelection(e) {
    if (e.currentTarget && e.currentTarget.files) {
      const file = e.currentTarget.files[0];
      setImageFile(file);
      previewFile(file);
    }
  }

  function previewFile(file) {
    const reader = new FileReader();
    reader.onload = () => {
      setImage(reader.result?.toString());
    };
    reader.readAsDataURL(file);
  }

  console.log(imageFile);

  return (
    <div className="App">
      <input type="file" onChange={handleImageSelection} />
    </div>
  );
}
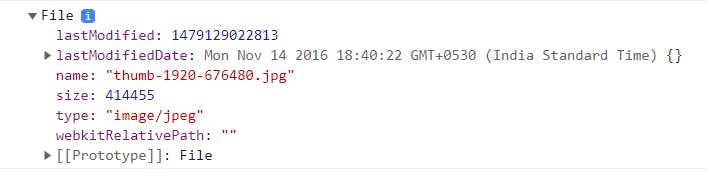
On console.log of the file upload, we get a File(blob) which is what we send to the server and not the image itself.
File Preview
Now, we will try to preview the file uploaded before sending it to the server. A "previewFile" function will be created with the help of FileReader, a web API used to read the contents of a file.
function previewFile(file) {
    const reader = new FileReader();
    reader.onload = () => {
      setImage(reader.result?.toString());
    };
    reader.readAsDataURL(file);
  }
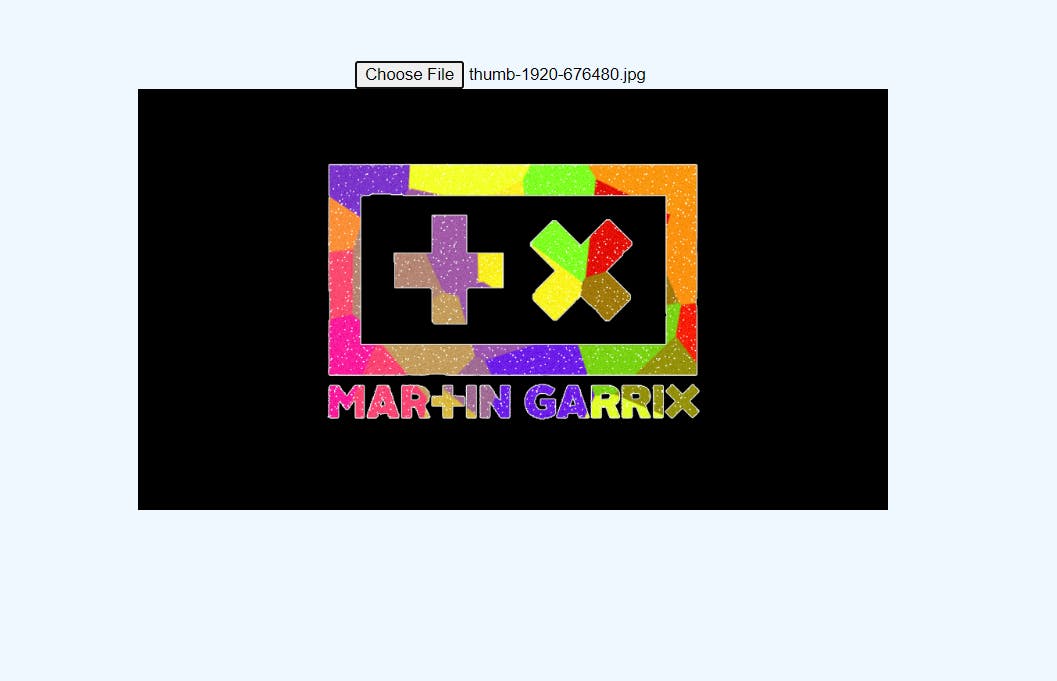
Display Image on localhost
Making an Axios call
Firstly we have to install Axios using npm install axios
Then we will create an API Call using Axios.
Some important points before creating axios call :
The data to be sent to the body of axios will be created using a web API called FormData.
A header will be added to the call
"Content-Type": "multipart/form-data"as this is a must required header while sending files to the server.
const fileUploadCall = async () => {
    try {
      let formData = new FormData();
      formData.append("image", imageFile);
      const { data } = await axios({
        method: "post",
        url: `http://localhost:4000/api/v1/file`,
        data: formData,
        headers: {
          "Content-Type": "multipart/form-data",
        },
      });
      return data;
    } catch (err) {
      console.log(err);
    }
  };
Conclusion
To sum up, FileReader, FormData, and "multipart/form-data" are the new terms we learn from this blog. This is a very critical frontend lesson for a newbie to the web development world, as file uploads help to add more complex functionalities to an application.